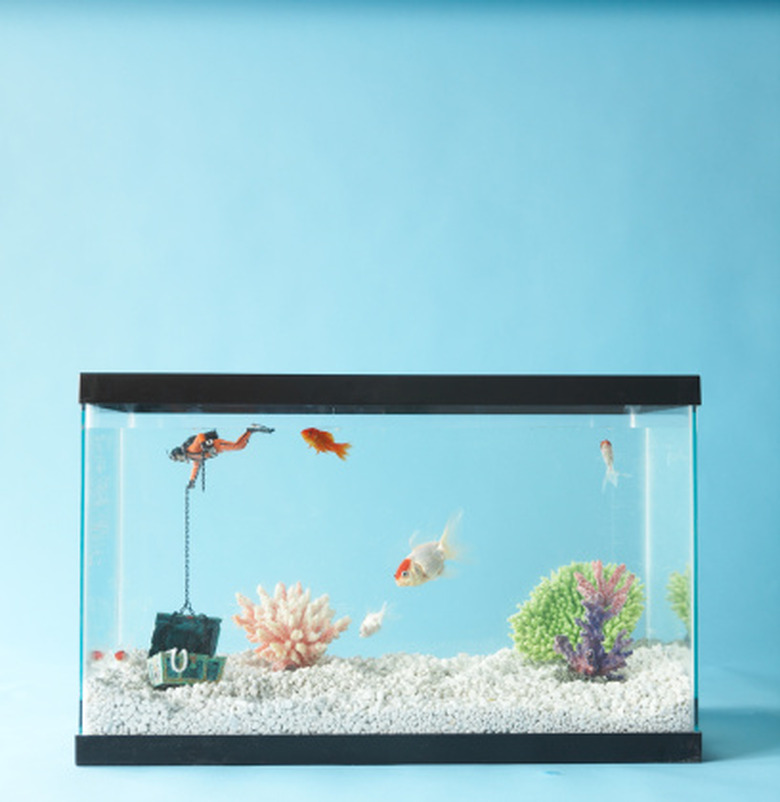
How To Build Watertight Plexiglass Tanks
Things Needed
-
Aquarium dimensions
-
Custom-cut acrylic plexiglass sheets
-
Masking tape
-
Acrylic glue
-
Syringe
-
Flashlight
-
Aquarium silicone
The benefits of an acrylic tank over a traditional glass tank are quite appealing; more aquarists are making the switch and crafting beautiful acrylic plexiglass tanks every day. Creating a custom plexiglass tank may at first seem an overwhelming task, but most people can build their dream tank with a few specific supplies, practice and instruction. With a little time and patience, your plexiglass tank can come together to surpass the magnificence and durability of a conventional glass tank.
Tip: Plastics are at the heart of building materials and products that make DIY projects stronger, lighter and more sustainable. Read more about the latest trends for home improvement solutions.
Step 1
Decide upon the overall size of your plexiglass tank. You will need to know the exact dimensions to correctly order your pre-cut plexiglass pieces and the amount of acrylic glue and aquarium silicone. If your desired tank size is 13- to 19-inches tall, you must use 3/8-inch thick plexiglass. If your tank is larger than the above mentioned size, use a ½-inch thick plexiglass.
Step 2
Order your cell-cast plexiglass pieces from a trusted plastic and acrylic vendor. Do not try cutting the plexiglass yourself. Allow the plastic and acrylic vendor to cut these pieces to exact size before you pick them up.
Step 3
Pull the protective layer covering the plexiglass back a few inches. Do not remove this protective cover completely. It will protect the acrylic from potential scratches while you assemble the tank.
Step 4
Smooth the edges of the plexiglass with a sharp razor or utility blade.
Step 5
Position and tape all sides to the bottom piece of acrylic with 3- to 4-inch long strips of masking tape. Secure the strips horizontally across the meeting points of the two pieces to hold them in place. Do not push and tape the pieces together too tightly. A small gap must be present to allow the glue to fill the gap between each meeting point to create a leak-proof and strong seal.
Step 6
Fill your syringe with acrylic glue and gently begin pumping the glue into the seams around the bottom four joints. Allow this glue to dry for at least four hours before continuing. Do not pump any glue into the horizontal joints until the bottom is completely dry.
Step 7
Turn the tank over on its side and glue the horizontal seams. After another four hours, flip the tank over once more and fill the last joints. Allow another four hours of drying time.
Step 8
Run a light along the inside of all the meeting points to check for any areas that didn't seal with glue. If you notice any areas that aren't sealed, fill the area with aquarium silicone and allow this area to dry for another four hours. Following these steps will ensure a watertight tank.
