How To Make A Birdcage Cover
Things Needed
-
Fabric
-
Scissors
-
Sewing machine
-
Needle
-
Thread
-
Velcro
-
Buttons
-
Measuring tape
-
Kraft paper
-
Pins
Warning
Keep scissors away from children.
Tip
Pinking shearers can keep your fabric from fraying during construction.
Match your fabric to your existing décor. Use mismatched coordinator fabric panels for a unique look.
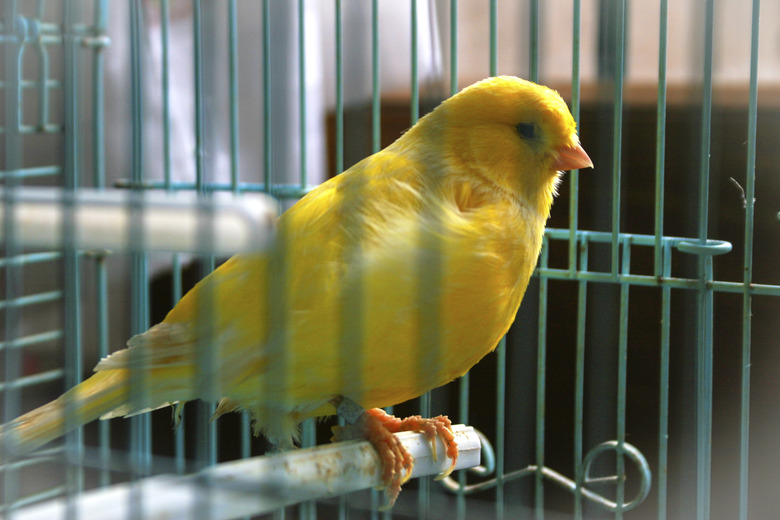
There's no better alarm clock than a bird who's ready to start his day while you're longing for a few extra winks. Cage covers offer a bird a sense of security, protect him from an evening chill and give him a longer and more peaceful rest. Many bird enthusiasts are fashioning their own cages, which lends itself to the need for do-it-yourself cage covers to fit a custom cage.
Step 1
Measure your birdcage and note the measurements. For example, if your cage is 2 feet wide, 2 feet deep and 4 feet tall, you'll need a top piece measuring 2-by-2, three pieces measuring 2-by-4, and two pieces measuring 1-by-4. Add 1 inch to each measurement so you'll be able to create a hem, with the exception of one of the 1-by-4 pieces. On one of the 1-by-4 pieces, add 4 inches so that your front cover overlaps.
Step 2
Draw out your pattern on the Kraft paper. Kraft paper is a heavy-duty brown paper similar to that of a paper bag, and can purchased in sheets large enough to create a large pattern.
Step 3
Lay your pattern on the back side of your fabric and pin.
Step 4
Cut your fabric pieces using the scissors.
Step 5
Pin your 2-by-2 top piece to your 2-by-4 back piece with fabric inside out. Pin it along the 2-foot length.
Step 6
Sew these two pieces together.
Step 7
Pin one of your 2-by-4 side pieces to the top and back piece. Always pin your fabric with the right side of the fabric facing the right side of the fabric, so your seams will be inside the finished product.
Step 8
Sew these two pieces together.
Step 9
Repeat steps 7 and 8 with the other side piece.
Step 10
Take both 1-by-2 pieces and fold in a 1/2-inch hem along the 2-foot length of the fabric. Fold it inward toward the wrong side of the fabric.
Step 11
Sew both hems.
Step 12
Attach both 1-by-2 pieces to the front of the cage cover. Add the piece with the shorter width first by attaching it to the left-hand side of the cover. The longer width will be on the right front side. Your cage cover will have an opening in the front, down the center, although your pieces will overlap.
Step 13
Fold a 1/2 hem along the bottom edge of the cover and pin.
Step 14
Sew the hem.
Step 15
Using the needle and thread, attach your Velcro pieces to the front of the cage cover along the edges. On the left side piece of your front cover, your Velcro pieces will be on the top side of the fabric. On the right side piece of your front cover, the Velcro pieces will be on the underside of the fabric. This will allow you to close the front panels of your birdcage cover. Measure carefully to make sure your Velcro pieces line up and your cage cover hangs properly when closed.
Step 16
Sew buttons over the Velcro pieces on the right side of the front cover to add some character to your cover. This will hide any indentation in your fabric resulting from attaching your Velcro.
