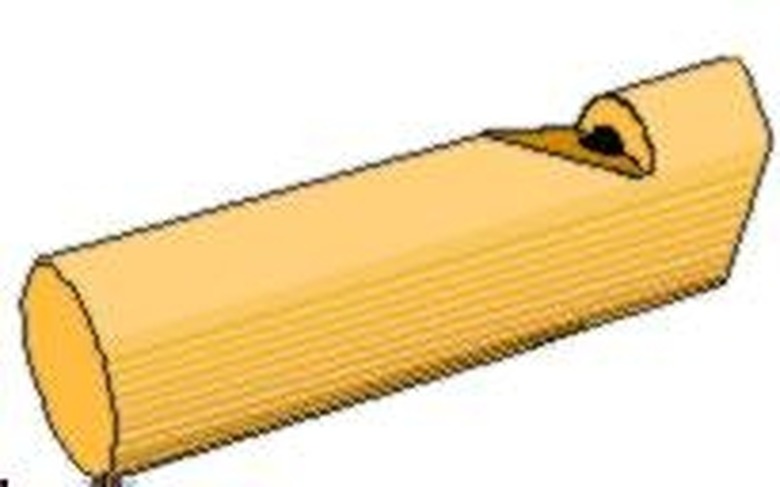
How To Make A Homemade Dog Whistle
Things Needed
-
Willow tree branch
-
Small carving knife
-
Sandpaper
Warning
Handle the knife with care.
Tip
A workbench or flat surface works best when carving, as it will keep your whistle in place as you work with it.
There is no doubt about it–a new puppy or older dog being brought into your home is going to need some training. An easy way to initiate a training program is to incorporate a dog whistle. Dog whistles have been around since the turn of the century. First used for training hunting dogs, then used for agility training, dog whistles are now used for even basic dog training. Many opt for the dog whistle because it works at long distances. If your dog runs, you still have your whistle, and chances are it will bring that dog right back home. There's no need to buy one, however, because with just a few simple steps you can make your own and Fido will be obeying in a matter of time.
Step 1
Cut the willow tree branch into an 8- to 10-inch section. You do not want it too short or too long as this will make pitch more susceptible to human ears.
Step 2
Cut the width of the branch no wider than your thumb. Anything fatter and your whistle will not have a good, high pitch and it could make the whistle uncomfortable in your mouth.
Step 3
To form your mouthpiece, slice one end of the branch at an angle.
Step 4
Cut off that pointy and sharp part; you won't want this in your mouth.
Step 5
Place your knife perpendicular to the mouth part to pierce a hole.
Step 6
Using the knife, cut the other side of the hole at a small angle.
Step 7
Keep this hole small. You can make it bigger if you need to, but you cannot add to it if you take too much away.
Step 8
Cut the branch about 6 inches from the end of the mouthpiece.
Step 9
Cut a circle around the inside perimeter of the branch. The goal is to hollow out the inside of the branch.
Step 10
Using the knife blade, insert it into the center and pull out the inside of the branch. This will seem like you are pulling out a cork.
Step 11
Carve a trench in the top of your whistle. Start small. If you want a deeper sounding whistle, make the trench deep. Higher pitched whistles will have a shallow trench.
Step 12
Mark a small notch below the mouthpiece but before the trench.
Step 13
Wet the newly made dog whistle to remove any rough pieces. Feel free to sand any rough edges.
Step 14
Blow. Your whistle is ready to be used. Make any modifications as needed.
