Top Paw Harness: How To Put On A Top Paw Adjustable Harness
Adjustable harnesses have a lot of benefits for dogs. Using a harness instead of a collar gives you more control over your dog, keeping your dog safe and making your walks a more pleasant experience for both of you.
The Top Paw pet supplies brand includes adjustable harnesses in traditional multiple-piece webbing styles and step-in styles designed for ease of use. Putting either Top Paw adjustable harness on your dog may seem daunting at first. Practice makes perfect, though, and before long, you and your dog will be walking the streets in style and safety.
How to put on a traditional Top Paw adjustable harness
1. Adjust the head loop
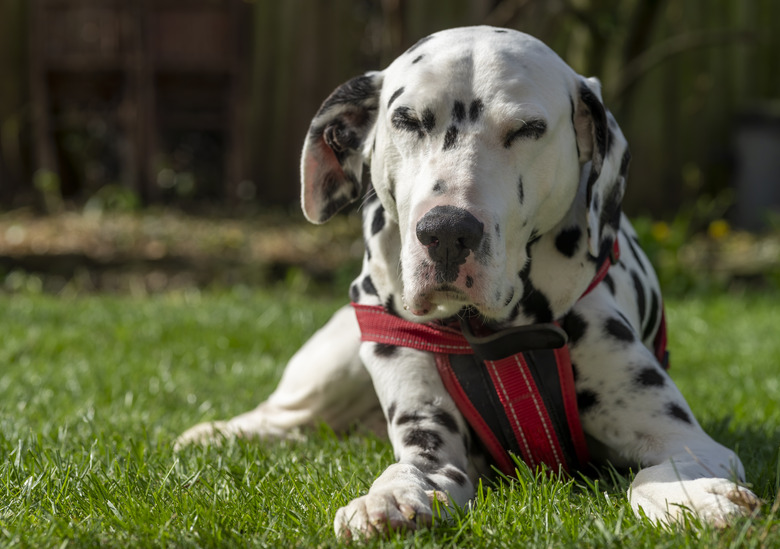
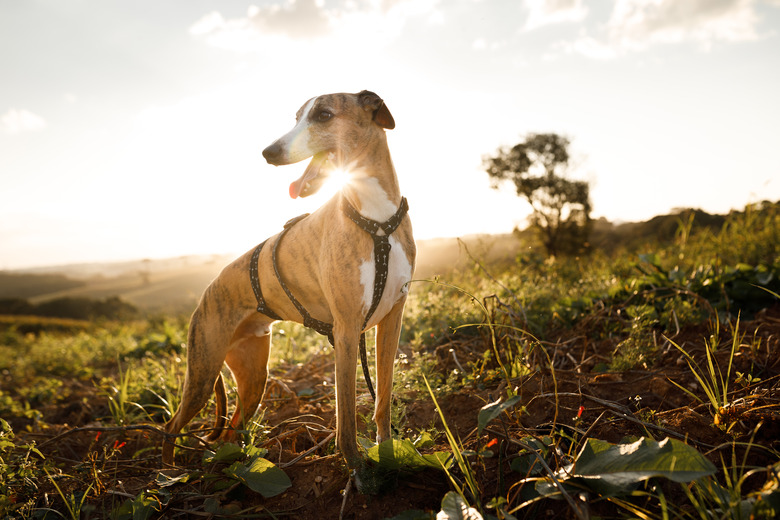
Estimate the proper fit and adjust the harness's front loop (the loop that goes over the dog's head) using the plastic sliders on either side of the loop. Slip the head loop over your dog's head and seat it so that the spine strap goes down the dog's back and the chest piece hangs between the dog's front legs.
2. Adjust the torso strap
Pull the hanging strip of chest webbing backward between the front legs. Hold it with one hand behind the front legs. With your other hand, slip one end of the unbuckled torso strap through the eye sewn into the end of the chest strap. Pull the torso webbing up one side of the dog's chest and then through the eye sewn into the spine strap.
3. Connect the torso strap
Join the two ends of the torso strap together, making a loop. Connect the ends by snapping the squarish plastic buckle pieces together.
4. Ensure a proper fit
Adjust the plastic sliders on both sides of the neck to center the head loop and provide a proper fit. You'll also need to adjust the single slider on the torso strap to ensure proper fit at the back of the harness. The harness should be secure but not tight — you should be able to slide two fingers between your dog's body and every part of the harness.
How to put on a Top Paw step-in harness
1. Prepare the harness
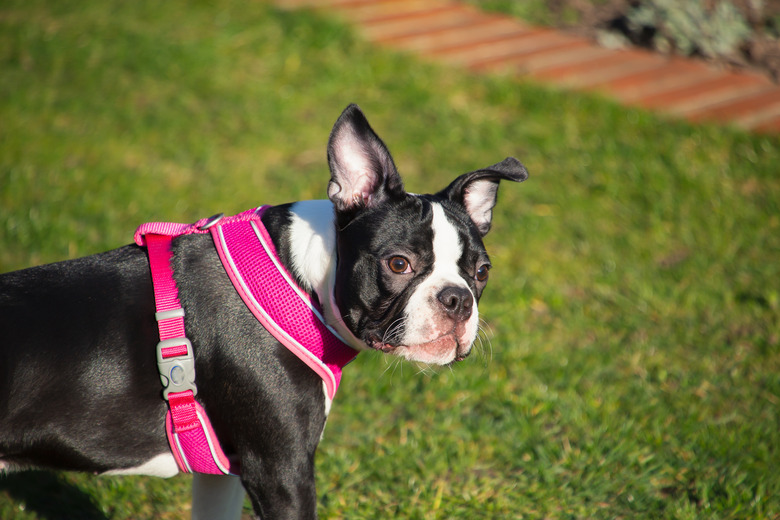
Unbuckle the Top Paw step-in harness and pull the straps apart. A step-in harness has a fabric sling that hugs the chest and wraps upward before and behind the front legs. Make sure the D-ring is facing up.
2. Adjust the neck strap
Put the neck strap over the dog's head, allowing the fabric chest piece to hang in front of the dog.
3. Secure the harness
Lift the dog's left leg and put it through the left side of the webbing. Pull the loose right rear corner of the harness up the dog's right side. Secure the loose strap to the top of the harness by snapping the plastic clasp pieces together.
4. Check the fit
Adjust the plastic sliders on the step-in harness's nylon straps to perfect the harness's fit. As with a traditional harness, you should be able to slide two fingers between the harness and your dog's skin everywhere they come together.
Once you have your Top Paw signature dog harness adjusted correctly, continue checking the fit over time. It's normal for harnesses to get stretched out or to shrink and grow smaller. Don't hesitate to adjust the harness as necessary. If the harness has any torn or broken components, dispose of it and start over with a new one.


