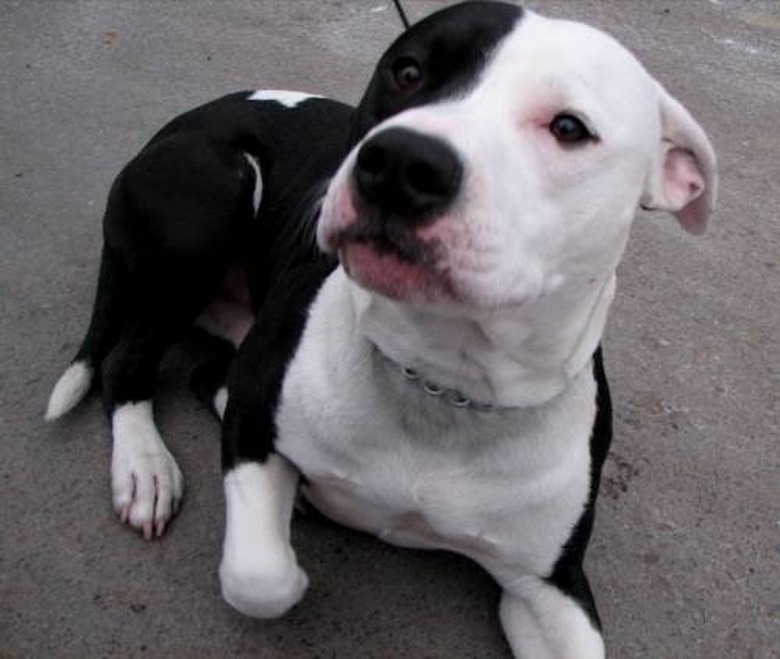
How To Make A Weighted Dog Harness
Things Needed
-
4 feet of 2-inch wide webbing
-
Small used socks
-
Clean Sand
-
Velcro
-
Scale
-
Candle or lighter
-
Long nail
-
Marker
-
Sewing Machine
-
Measuring Tape
-
Scissors
-
Flat buckle
Warning
Never leave your dog in his harness unsupervised. He can easily get tangled and choke himself is you're not watching him.
Tip
Be sure you trim off any rough edges to avoid injuring your dog. Rough spots will rub your dog while he is moving and can leave scratches or blisters on his skin.
Weighted harnesses are used by dog trainers for a number of sports. Weight pulling, search and rescue, and schutzhund trainers often use a weighted harness to help build and develop muscle tone and strengthen a working dog's core. Weighted harnesses can be expensive to buy, but they are fairly simple to make at home and customize for your dog's specific needs. Read these steps to see how to make a weighted dog harness.
Step 1
Measure your dog so you can cut your webbing. Place the measuring tape at the top of your dog's shoulders and measure down under her front legs and back up to her shoulder in a figure 8. The figure 8 is a simple harness style to make and good for a simple conditioning weight harness.
Step 2
Cut your webbing to fit your harness measurements, adding an extra 6 inches for a buckle and for adjustment as your dog grows. Be sure to trim your ends even and melting them with your flame to prevent them from unraveling.
Step 3
Fold one free end of your webbing over and slip your buckle onto it. Use your sewing machine to secure the buckle. You can use a needle and thread if you do not have a sewing machine, but the machine-sewn stitches will be much stronger and will secure your buckle much better than hand sewing.
Step 4
Lay your webbing on a flat surface. Use your marker and mark out six places for adjustment holes. Heat up the nail over your flame and push it through each mark, holding long enough to completely melt through the webbing. Using a hot nail will cauterize and seal the plastic to keep it from tearing or fraying during use.
Step 5
Prepare your socks to attach to your harness. The socks will serve as adjustable weights that you can empty and refill as necessary. The sock is soft and will not chafe your dog's skin, making for a perfect refillable pouch for your harness. Wash them and check for holes so that they do not leak once sewed to the harness.
Step 6
Sew a strip of Velcro along each side of your sock so that you can close them once they are full. The Velcro gives you the ability to refill your socks when they need to be heavier without having to remove them totally from your harness and replace them.
Step 7
Fold your harness into a figure 8 and buckle it so you can get an accurate visual of where you need to attach your socks. Mark a spot on each side of the harness in the chest/foreleg area with your marker so that when you unfold your harness you remember where to sew on the socks.
Step 8
Unbuckle the harness and lay it flat with your marks laying face up. Sew one sock on each side. Be sure to sew only the socks along each end so that you create a tube that you can fill up with sand.
Step 9
Fill your sock tubes with sand and Velcro the ends shut. You can now weigh your harness so you get an accurate measurement of how much weight your dog will be carrying. Start out with just a couple pounds, working up as your dog gains more muscle tone and stamina.
Step 10
Fit your harness to your dog, making sure the weights fit well over the chest area and do not impede his movement. Let your dog wear the harness as you work him and build his stamina, and be sure to remove it after his workout to avoid damaging the harness or injuring your dog.
